
Oftentimes small businesses, small offices, and home offices have just a few computers with multiple users who share access to folders. But do they really need access to everything? When sharing access to folders or drives, it’s important to understand how to set access restrictions to particular files and folders on your system. Follow these six simple steps to set up folder restriction.
Step 1:
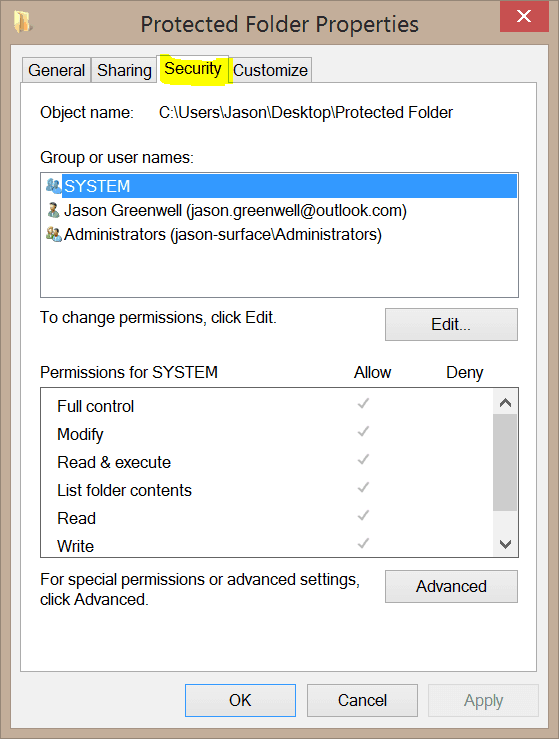
Right click the folder you want to protect and go to properties.
Step 2:
Go to the security tab
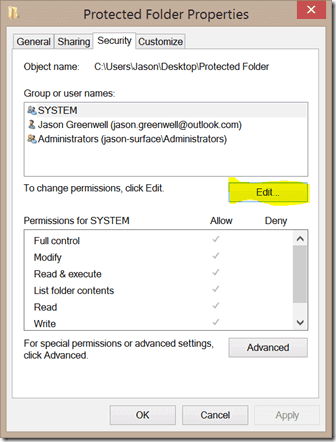
Step 3:
Click EDIT under the list of Group or user names
Step 4:
Add or remove who you want to have access to that folder
Here, it’s a good idea to remove the user group called “EVERYONE” if you have that listed under Group or user names. Then, click add and enter the username of the user you’d like to add. You can enter some of their name if you don’t know the username and click check names. Windows will attempt to find users with the name you entered. Click OK and they will be added to the list.
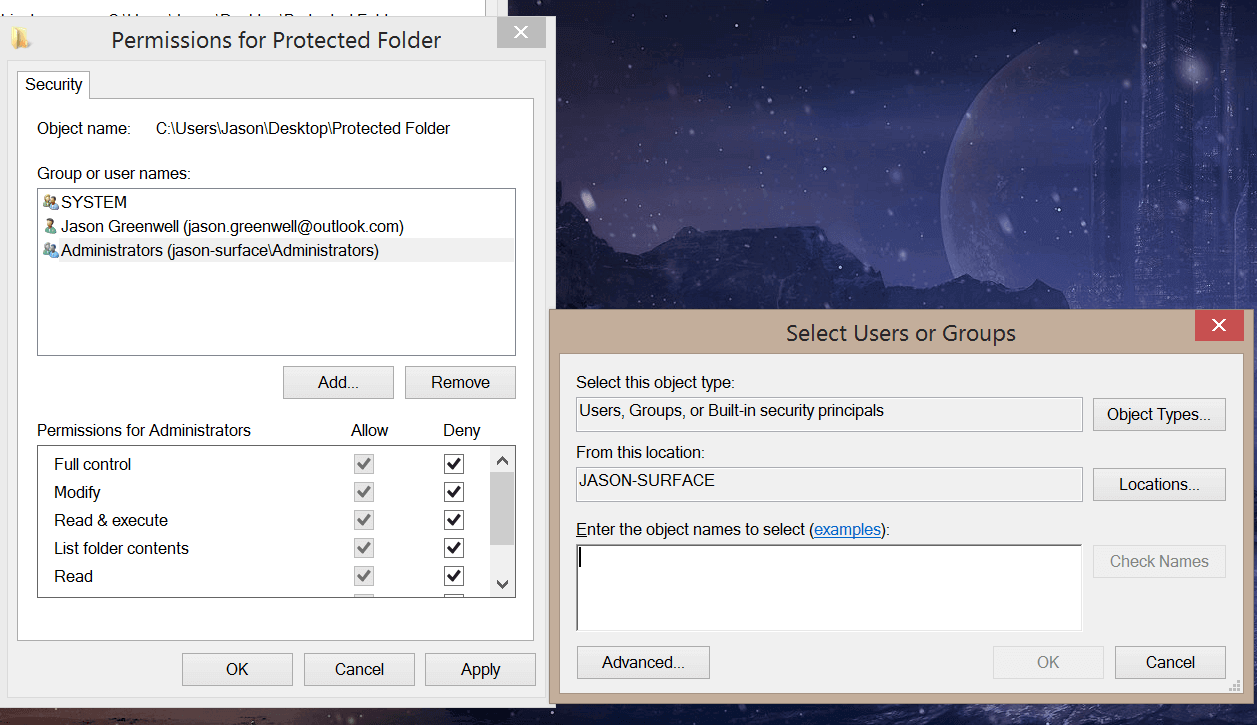
Step 5:
Select the particular users you added and select the permission you’d like to either give them or deny them. Do this for each user.
Step 6:
Click Apply and OK
That was easy, right? Now, the next time someone tries to get into the folders, they will be prompted with “Access Denied”.